About Brows | Eyebrow Tutorial - Princess Livia
Brow Shaping
There are hundreds of 'brow shaping' tutorials in the internet, but if you're a brow shaping novice, I recommend getting your brows professionally shaped. I have my eyebrows threaded and shaped twice a year, and I just maintain the shape by plucking stray hairs that have grown with a pair of tweezers.
I recommend threading rather than shaving as hair tends to grow faster if shaved and therefore tends to be more tedious to maintain. Although threading itself is painful, you tend to develop pain tolerance after a few sessions. Taking 1g of paracetamol 1 hour before may also help, or using an ice pack to numb the area.
Brow Trimming
Brow hair obviously grows and the sometimes can get too long. Most people develop a 'fan' on the inner aspect of their brows as the hairs stick out upwards. Best thing for these is to trim them yourself at home!
I use:
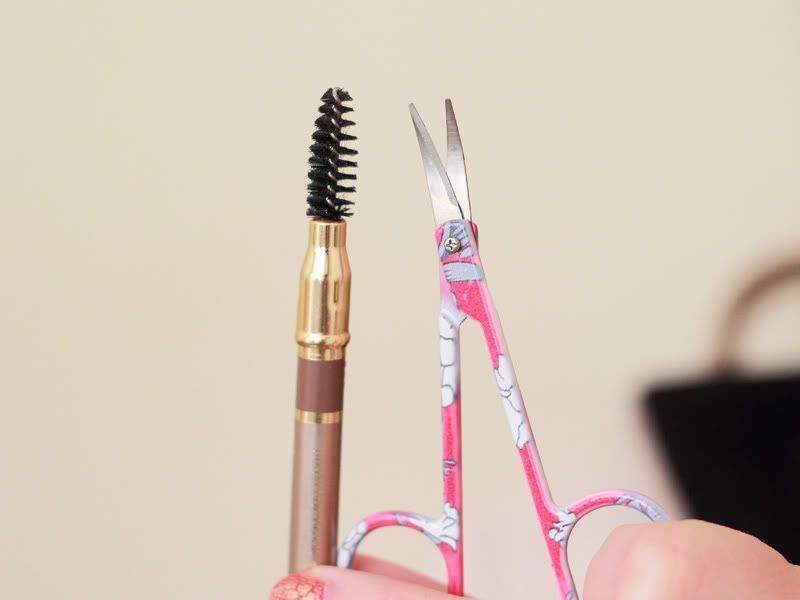
Spoolie (this is the spoolie end of a cheap eyebrow pencil I bought but never use)
Small eyebrow scissors - any small precise pair of scissors would also work
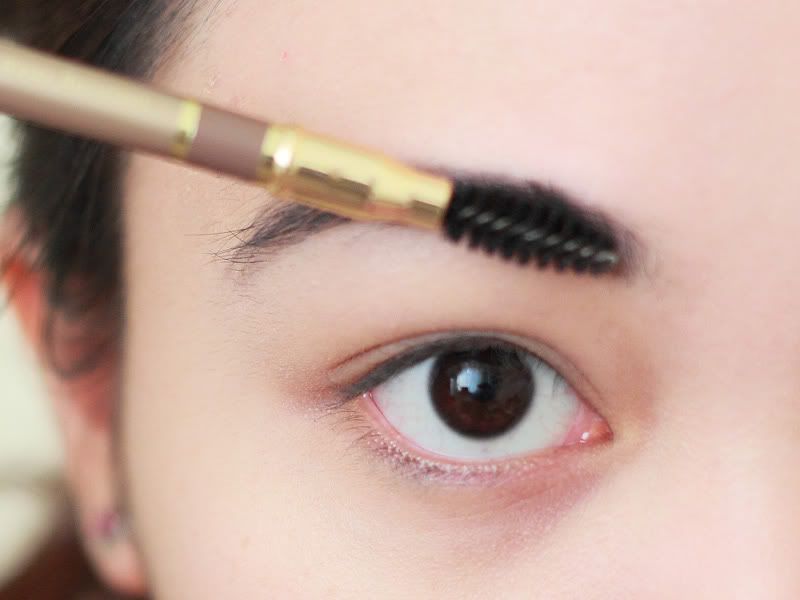
For the inner 2/3 of the brow medial to the brow arch, I brush brow hairs upwards using a spoolie, isolating the hair segments above an imaginary line from the inner part to the arch. I then trim hairs above this line.
For the outer 1/3, this is a bit more tricky. I brush the hairs downwards, trimming the segments below an imaginary boundary on the lower border of the brow.
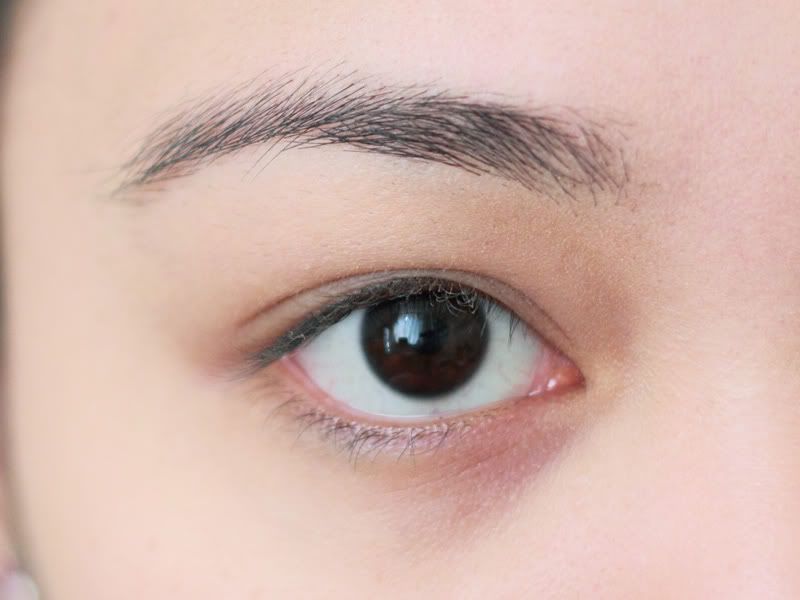
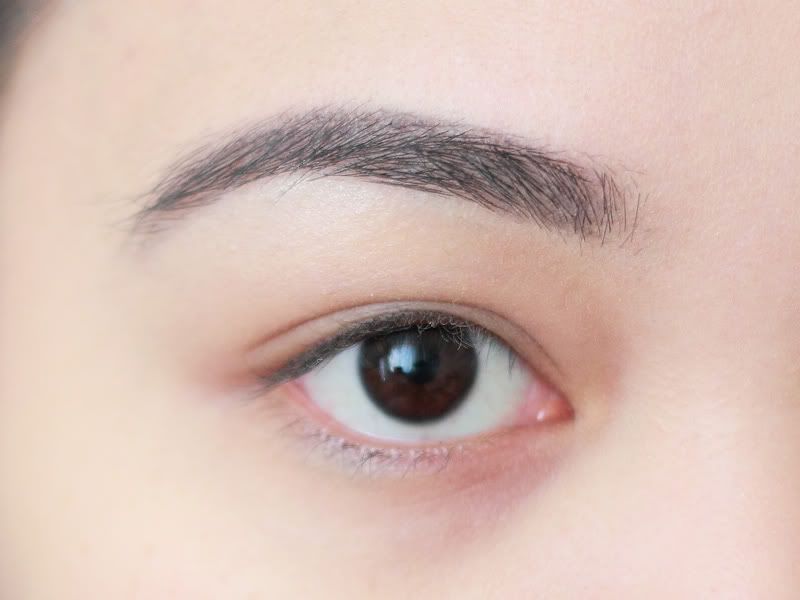
Finding Your Brow Arch

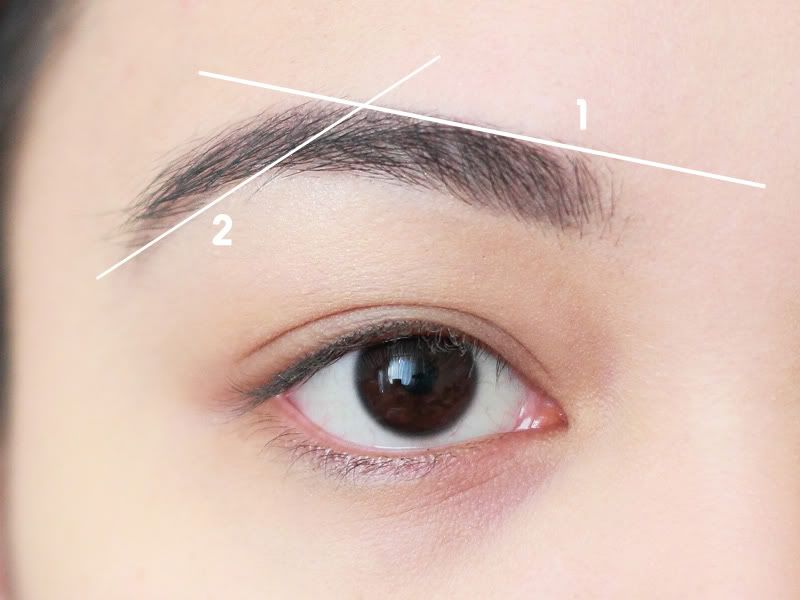
This picture perfectly demonstrates how I find the start, brow arch, and outer ends of my brows. If you're new to this, I suggest getting a makeup pencil (eye pencil or lip pencil) to mark these points.
Start of Brows
Take a straight object and draw a line from the outer part of your nose and crossing the inner corner of your eye. Trace this on your brow area. Pluck any hairs more medial to this.
Arch
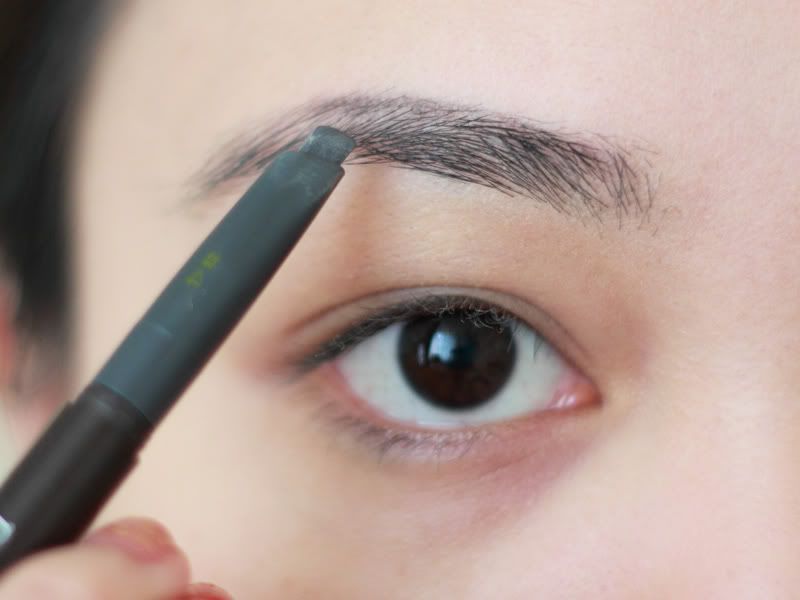
Look straight into a mirror, then take a straight object and line it from the outer part of your nostril, crossing your pupil, towards your brows. Place a mark where your line intersects with your brows.
End of Brows
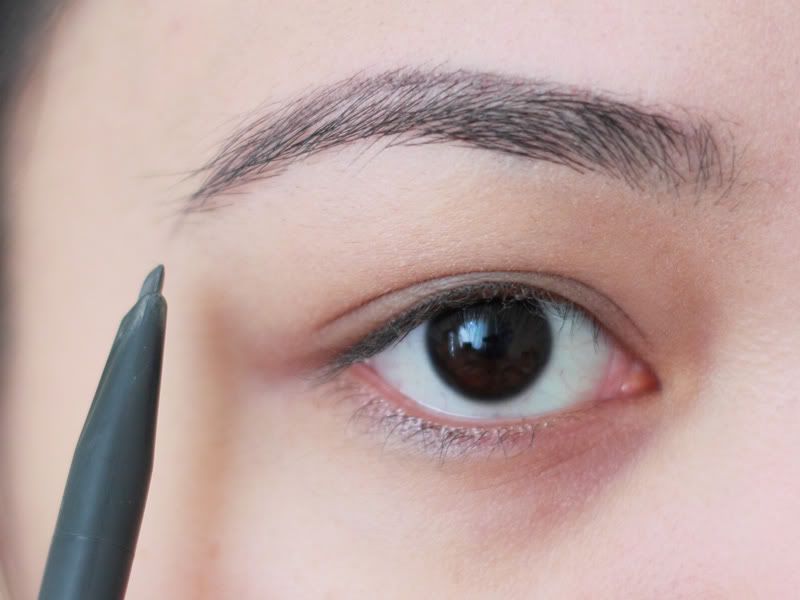
Take a straight object and draw a line from the outer part of your nose and crossing the outer corner of your eye. Trace this on your brow area. Pluck any hairs more lateral to this.
Brow Colour
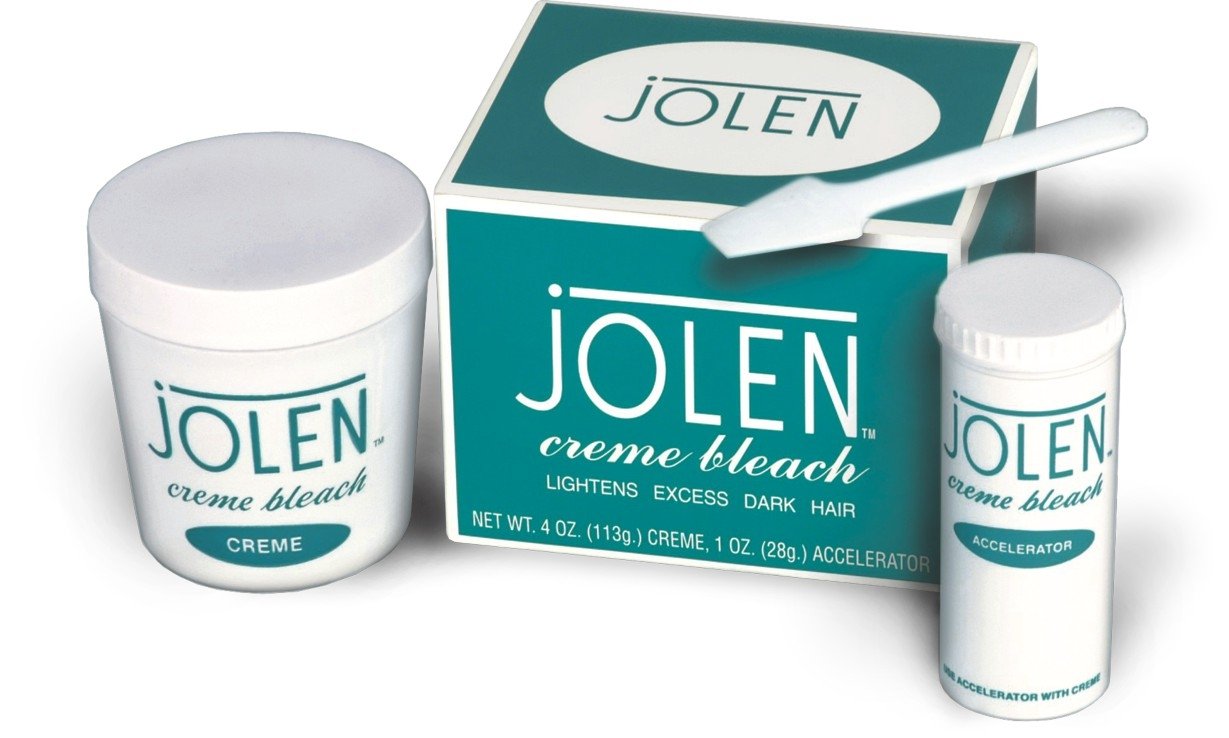
It's said that the brow colour that flatters one the most is 1-2 shades lighter than one's hair colour. In truth, this really depends on the person's preference and brow trends. To bleach my brows, I use JOLEN Creme Bleach. It comes with the Creme bleach (big pot), Powder Accelerator (small pot) and a spatula. You need to mix approximately equal parts cream and powder bleach.
I use the cover of the creme bleach as a mixing tray. I use the scoop of the spatula to take cream bleach and deposit on the tray, then using the thin handle of the spatula, I guide some powder granules of the accelerator on to the bleach. I then mix the two. Once fully mixed and granules dissolved, I carefully apply the mix on my eyebrows, taking care not to involve my eyes. I tend to close the eye underneath the brow I am treating. Make sure you cover the brows fully for even bleaching.
I usually wait about 7 minutes for the bleach to work to get my desired colour. After this, using tissues damp with cold water, I gently wipe the mixture off from the middle to outer parts of my brows.
Brow Makeup
Before & After
For this tutorial, I use and highly recommend:
Etude House Brow Pencil
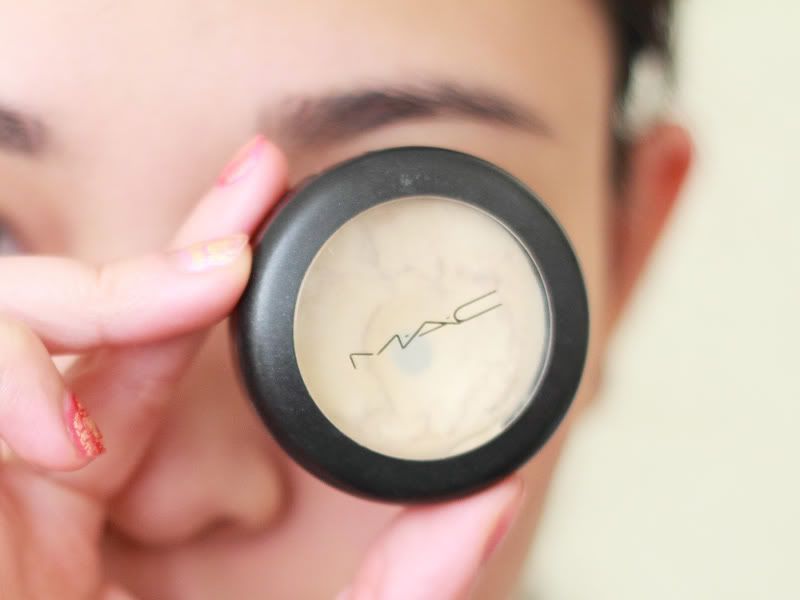
MAC Pearl Cream Colour Base
Highlighters are a must for tidy-looking brows. This is my favourite highlighter. I love the creamy consistency and the luminous finish. Of course you can use any shimmery white or beige.
1. Foundation or Face Powder. I usually do my brows after applying face powder or foundation to my face to prevent them being covered or ruined if done the other way around.
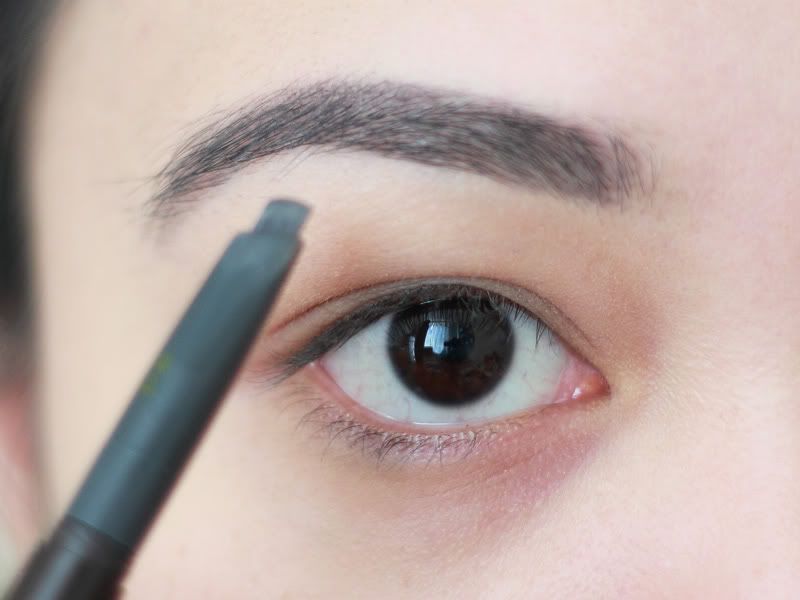
2. Take your brow pencil and trace a straight line on the tops of your brows, from the inner side in short light strokes towards the top arch of your brow.
3. Draw a line from your arch towards the tail end of your brow, slightly curving the arch.
4. Fill any spaces between the top arch and the bottom arch with short strokes, mimicking natural hairs. Do not trace the bottom edge of your brows - I find that this makes brows look too thick and harsh.
5. Take your highlighter: MAC Pearl cream colour base
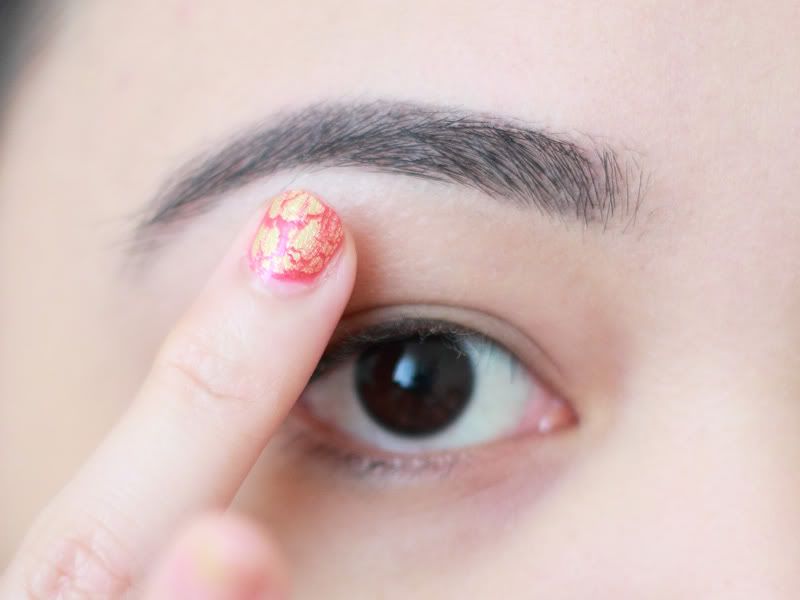
6. With your ring finger, dab and blend a bit just underneath your arch.
Et Voila! Quick clean brows.
That concludes my comprehensive "All About Brows". Let me know if you have any questions or any more requests!
What do you think? ♥
Livia xx

Post a Comment